
Embroidery is a timeless craft, gaining popularity, and printable stitch guides (PDFs) simplify learning. These resources offer illustrated steps for various techniques, perfect for beginners and experienced crafters alike.
What is Embroidery?
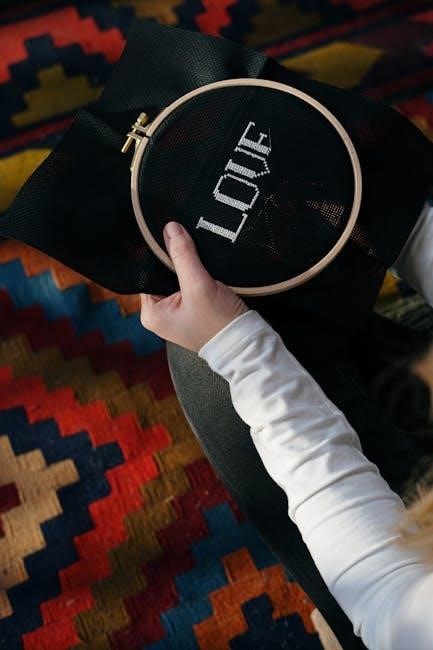
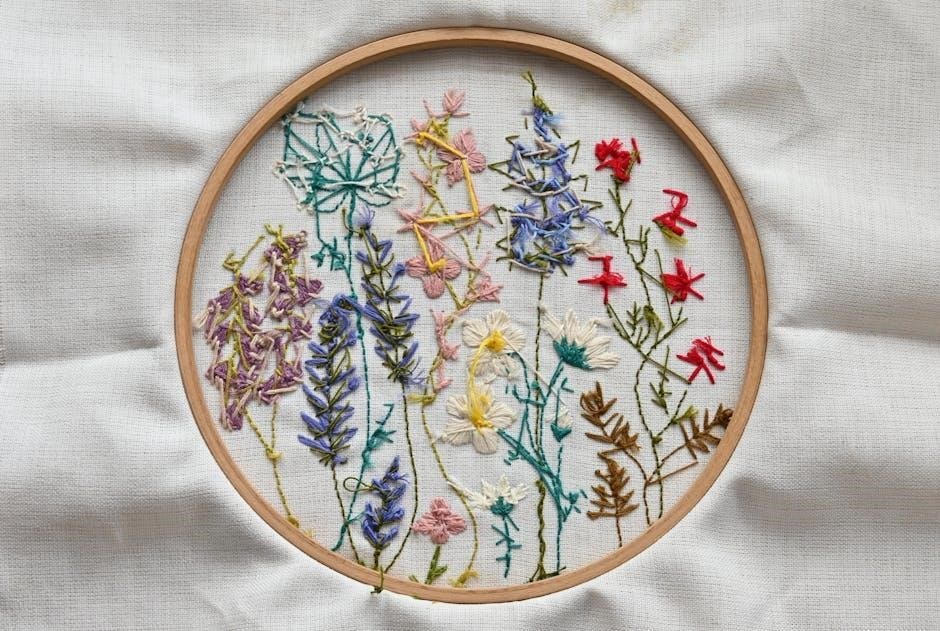
Embroidery, a captivating art form practiced globally, involves decorating fabric or other materials with needle and thread. It’s far more than just sewing; it’s a premium design choice that breathes life into apparel and textiles. Historically, embroidery served functional purposes like reinforcing seams, but evolved into a stunning visual art.
Today, embroidery encompasses a vast range of techniques, from simple running stitches to intricate Bargello designs. Whether you prefer freestyle or counted thread methods, the possibilities are endless. Learning the basics is surprisingly easy, and even simple stitches can create remarkable artwork. The craft allows for immense creativity and personalization, making each piece unique. It’s a rewarding hobby that connects you to a rich artistic tradition.
Why Use Printable Stitch Guides (PDFs)?
Printable embroidery stitch guides (PDFs) are invaluable resources for both novice and seasoned embroiderers. They offer a convenient, accessible way to learn and reference a wide array of stitches. Unlike relying solely on digital screens, having a physical copy allows for easy viewing while working on projects.
These PDFs often include clear diagrams and step-by-step instructions, making complex techniques easier to grasp. They eliminate the need to constantly switch between devices or remember stitch details. Furthermore, many guides address common issues like fabric puckering or tension control, offering troubleshooting tips. Whether free or paid, these resources streamline the learning process and enhance your embroidery experience, fostering creativity and skill development.
Basic Embroidery Stitches – The Foundation
Fundamental stitches like running, back, split, and stem stitch form the basis of embroidery. Printable PDFs expertly demonstrate these essential techniques for beginners.
Running Stitch
The running stitch is arguably the most basic embroidery stitch, and a cornerstone for beginners. Printable stitch guides often begin with this simple technique, illustrating its straightforward “in and out” motion. These PDFs clearly demonstrate how to create evenly spaced stitches, forming a dashed line effect.
It’s incredibly versatile – used for outlining, adding details, or even filling larger areas with repeated rows. PDFs showcase variations, like the even running stitch for neat lines and the uneven running stitch for a more rustic look. Mastering this stitch provides a solid foundation for tackling more complex embroidery projects. Many printable resources include diagrams showing stitch length and spacing for different effects, making it easy to learn and practice.
Back Stitch
The back stitch, frequently featured in printable embroidery stitch guides (PDFs), is a strong, solid stitch ideal for outlining and creating defined lines. Unlike the running stitch, it produces a continuous line resembling machine stitching. PDF tutorials meticulously illustrate the process: bringing the needle up, then back down into the previous stitch’s endpoint.
These guides often emphasize maintaining consistent stitch length for a professional finish. Printable diagrams demonstrate how to adjust the stitch length for varying line weights. It’s also used for lettering and creating intricate details. Many PDF resources highlight its durability, making it perfect for projects needing a robust outline. Mastering the back stitch, with the help of these guides, unlocks a new level of precision in your embroidery.
Split Stitch
Split stitch, clearly demonstrated in many printable embroidery stitch guides (PDFs), creates a textured line with a slightly raised effect. The technique involves bringing the needle up through the fabric, then down through the center of the previous stitch, effectively “splitting” it. PDF tutorials often showcase this process with close-up images, clarifying the stitch formation.
These guides emphasize the importance of consistent tension to achieve a uniform texture. Printable diagrams illustrate how varying stitch lengths impact the final appearance. It’s excellent for outlining, filling narrow shapes, and adding subtle detail. PDF resources frequently mention its versatility, suitable for both delicate and bold designs. Learning split stitch via these guides enhances your embroidery toolkit with a unique textural element.
Stem Stitch
Stem stitch, a foundational technique frequently detailed in printable embroidery stitch guides (PDFs), is ideal for creating flowing lines and outlines. PDF tutorials visually break down the process: bringing the needle up a short distance ahead, then down into the previous stitch’s endpoint, always keeping the working thread to the same side.
Printable diagrams highlight maintaining consistent stitch length and thread tension for a smooth, even line. Many PDF resources emphasize its use for flower stems, vines, and lettering. It’s a versatile stitch, adaptable for both delicate and bolder designs. Learning stem stitch through these guides provides a strong base for more complex embroidery projects, offering clear, step-by-step instructions for mastering this essential technique.
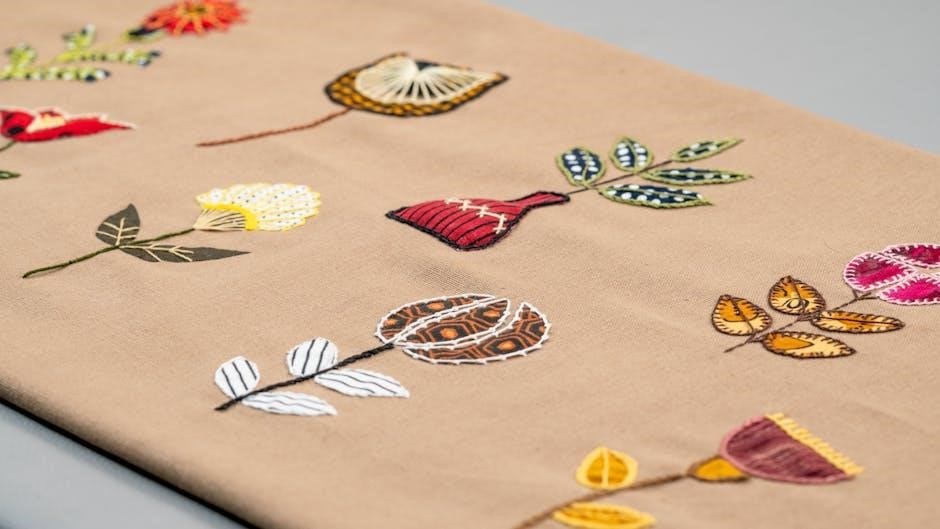
Filling Stitches for Coverage
Printable embroidery stitch PDFs showcase techniques to cover areas fully, like satin stitch and long and short stitch, offering visual guides for beautiful, dense designs.
Satin Stitch
Satin stitch is a fundamental filling technique, creating a smooth, glossy surface. Printable embroidery stitch PDFs are invaluable for mastering this stitch, providing clear diagrams illustrating how to lay parallel stitches closely together. These guides often detail maintaining consistent tension and stitch length for a flawless finish.
Beginner-friendly PDFs break down the process, showing how to anchor the thread and work across the design area. More advanced resources demonstrate variations, like padded satin stitch for added dimension. Understanding the stitch’s limitations – avoiding long stretches that can snag – is also emphasized in these guides. They frequently include tips for preventing fabric puckering and achieving professional-looking results, making satin stitch accessible to all skill levels.
Long and Short Stitch
Long and short stitch excels at filling large design areas with a beautifully textured effect. Printable embroidery stitch PDFs are crucial for visualizing and learning this technique, showcasing how alternating stitch lengths blend seamlessly. These guides often emphasize gradual transitions between colors, creating realistic shading and depth.
PDF resources demonstrate how to start and end rows strategically to avoid a harsh, stepped appearance. They illustrate the importance of stitch direction, often suggesting working with the grain of the fabric. Detailed diagrams show how to manage thread changes and maintain consistent density. Mastering this stitch, with the aid of these guides, allows for creating stunning floral designs and intricate landscapes, offering a versatile filling option.
Brick Stitch
Brick stitch creates a textured, almost woven appearance, resembling brickwork – hence the name! Printable embroidery stitch PDFs are invaluable for understanding the angled placement of each stitch, crucial for achieving the characteristic effect. These guides typically illustrate how to maintain consistent stitch length and spacing for a uniform look.
PDF resources often detail variations, such as using different thread weights or colors to enhance the brick-like texture. They demonstrate how to navigate curves and corners effectively, preventing gaps or distortion. Learning from these diagrams simplifies the process, making it accessible for beginners. Brick stitch is excellent for filling shapes or creating borders, adding a unique dimension to embroidered designs.
Seed Stitch (Rice Stitch)
Seed stitch, also known as rice stitch, is a delightful filling technique creating a scattered, textured effect. Printable embroidery stitch PDFs are incredibly helpful for mastering this seemingly random stitch, demonstrating optimal stitch density and placement. These guides visually clarify how to vary stitch size and direction for a natural, organic appearance.
PDF resources often showcase how seed stitch can be used to represent foliage, texture in landscapes, or even abstract patterns. They illustrate techniques for blending colors seamlessly within the stitch field. Understanding the subtle nuances, like avoiding overly uniform rows, is key, and PDFs provide clear visual cues. Seed stitch adds a charming, delicate touch to any embroidery project.

Decorative & Textured Stitches
Printable embroidery stitch PDFs unlock a world of embellishment! They detail stitches like French knots and chain stitch, adding dimension and artistry to your projects.
French Knot
French knots, though seemingly complex, become achievable with clear printable embroidery stitch PDFs. These guides break down the technique into manageable steps, illustrating how to create these charming, textured embellishments. The PDF diagrams typically showcase the wrapping of the floss around the needle, the crucial step for forming the knot’s bulbous shape.
Many PDFs offer variations – single, double, or even clustered knots – expanding creative possibilities. Beginners often struggle with consistent knot size, and these resources provide troubleshooting tips, like maintaining even tension. Mastering French knots elevates embroidery, adding delightful detail to floral designs, textured backgrounds, or whimsical character features. Utilizing a PDF ensures a visual reference, simplifying the learning process and fostering confidence in executing this beautiful stitch.
Chain Stitch
Chain stitch, a foundational embroidery technique, is wonderfully demystified through printable stitch PDFs. These guides visually demonstrate creating the looped chain effect, showcasing the needle’s path and floss management. A good PDF will illustrate both forward and backward chain stitch variations, offering versatility in design application.
Beginners benefit from the step-by-step diagrams, clarifying how to maintain consistent loop size and prevent the chain from unraveling. More advanced PDFs might detail variations like whipped chain stitch, adding texture and dimension. Chain stitch is incredibly versatile – outlining shapes, creating bold lines, or filling entire areas. Accessing a clear, printable guide empowers embroiderers to confidently incorporate this classic stitch into their projects, enhancing both aesthetic appeal and structural integrity.
Lazy Daisy Stitch (Detached Chain Stitch)
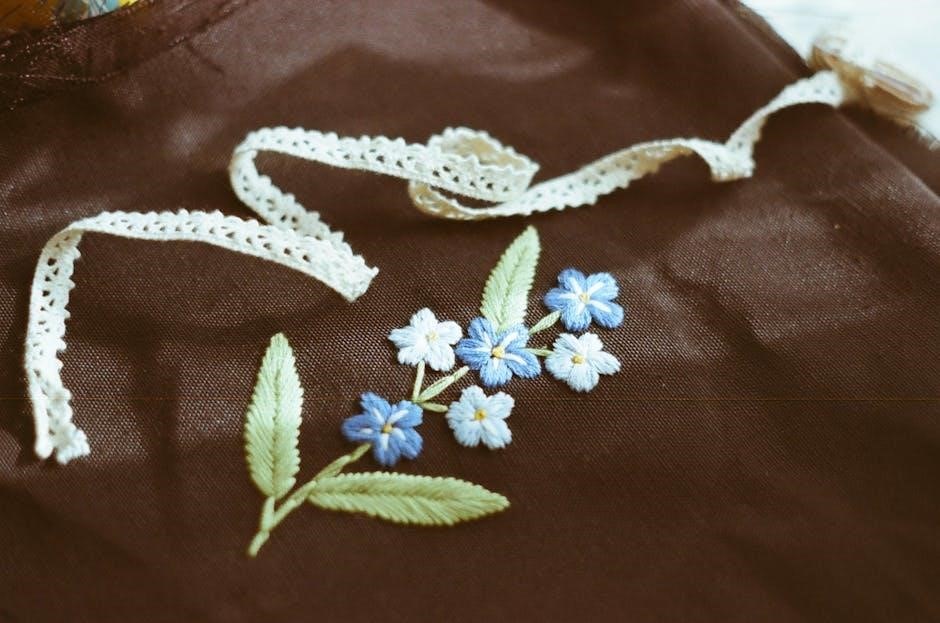
Lazy Daisy Stitch, also known as detached chain stitch, blossoms beautifully with the aid of printable embroidery stitch PDFs. These guides clearly illustrate forming individual petal-like loops, essential for floral designs and delicate embellishments. A quality PDF will demonstrate anchoring the stitch securely and varying loop sizes for a natural, organic look.
Beginners appreciate the visual breakdown of each step, simplifying what can initially seem complex. Advanced guides may showcase combining Lazy Daisy stitches to create intricate flower motifs or leaf patterns. The stitch’s versatility extends beyond florals; it’s perfect for scattered accents or whimsical details. Printable resources empower embroiderers to master this charming stitch, adding a touch of elegance and handcrafted beauty to any project.
Feather Stitch
Feather Stitch, a classic border and filling technique, benefits immensely from detailed printable embroidery stitch PDFs. These guides visually deconstruct the stitch’s rhythmic, wave-like pattern, making it accessible to all skill levels. A well-designed PDF will showcase variations – upright, reverse, and curved – expanding creative possibilities.
Understanding the consistent spacing and angle of each stitch is crucial, and PDFs excel at demonstrating this. Beginners will find step-by-step diagrams invaluable for mastering the technique, while experienced embroiderers can explore complex arrangements. Feather Stitch isn’t limited to borders; it’s stunning for filling shapes or creating textured backgrounds. Printable resources unlock the stitch’s potential, enabling beautiful, flowing designs with ease and precision.
Advanced Embroidery Techniques
Printable PDFs unlock complex embroidery like Bargello, Needlepoint, and Counted Thread. Detailed diagrams clarify intricate patterns, empowering skilled crafters to explore new dimensions.

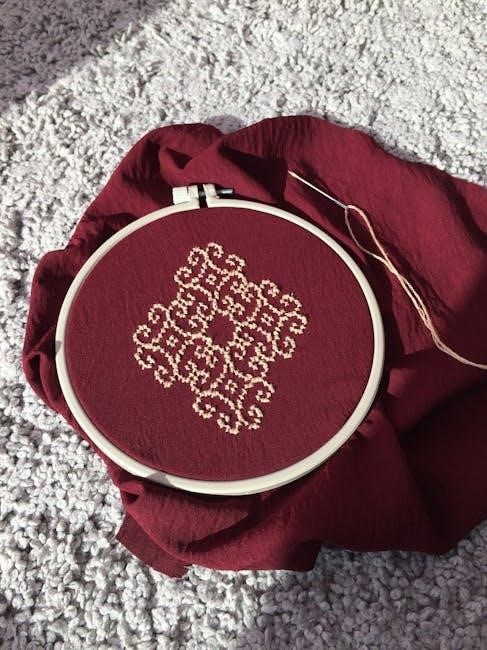
Bargello (Florentine) Embroidery
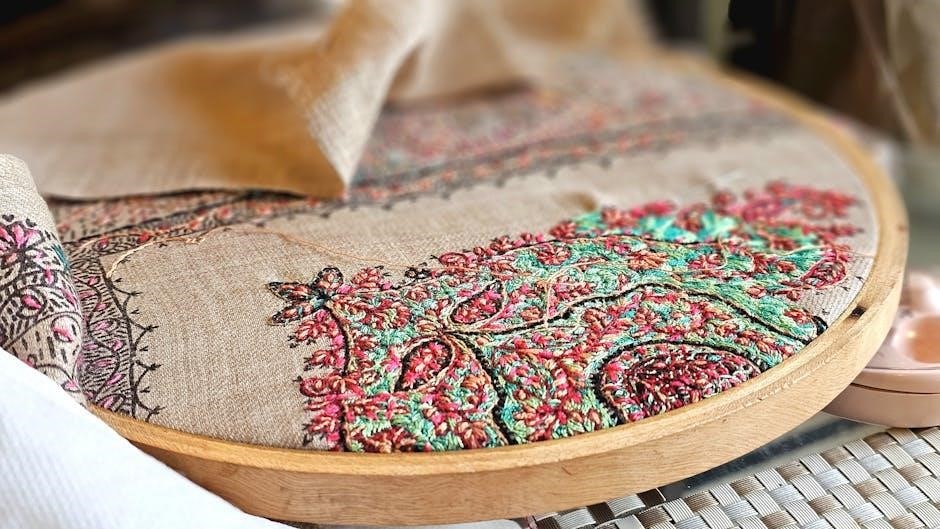
Bargello, also known as Florentine embroidery, is a stunning technique characterized by bold, repeating patterns and vibrant color variations. Printable PDF stitch guides are invaluable when tackling this advanced style, offering clear visual breakdowns of the necessary stitches and color placement. These guides often showcase how to build up layers of stitches to create the signature raised, textured effect that defines Bargello.
Successfully executing Bargello requires precision and understanding of stitch direction. PDFs provide detailed diagrams illustrating the precise angles and lengths needed for each stitch, ensuring a cohesive and visually impactful design. They often include color keys and pattern charts, simplifying the process of translating a design onto fabric. Without a clear guide, the complexity of Bargello can be overwhelming, making these resources essential for both beginners and experienced embroiderers seeking to master this beautiful art form.
Needlepoint Embroidery
Needlepoint embroidery, a counted thread technique, demands patience and meticulous stitchwork, making printable PDF guides incredibly helpful. Unlike freestyle embroidery, needlepoint relies on covering a canvas with stitches, often following a pre-defined chart. PDFs provide these charts, clearly indicating stitch placement and color changes, eliminating guesswork and reducing errors.
These guides often detail specific needlepoint stitches like the tent stitch (continental, basketweave, or half cross stitch), crucial for achieving a uniform and durable finish. Detailed diagrams within the PDFs illustrate proper tension and stitch direction, vital for preventing canvas distortion. For beginners, a well-structured PDF simplifies the learning curve, while experienced needlepointers can utilize them for complex designs. The dedication required for needlepoint is significantly eased with accessible, visual instructions.
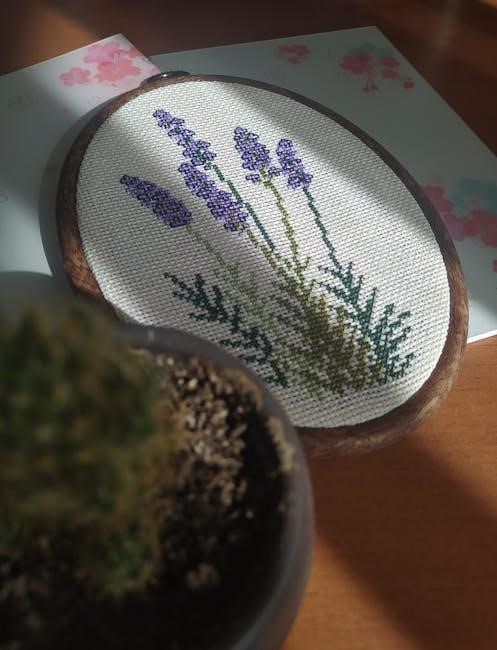
Counted Thread Embroidery
Counted thread embroidery, encompassing techniques like cross-stitch and blackwork, relies on precise stitch placement over a specific fabric count; Printable PDF stitch guides are invaluable here, providing clear charts and diagrams that dictate each stitch’s location. These guides eliminate the ambiguity of freestyle embroidery, ensuring accurate pattern reproduction.
PDFs often include detailed explanations of fractional stitches, backstitching for outlining, and shading techniques – all essential for achieving a polished look. They visually demonstrate how to navigate the fabric’s weave, maintaining consistent tension and stitch size. Beginners benefit from step-by-step instructions, while experienced stitchers appreciate complex pattern breakdowns. Having a readily available, visual reference simplifies intricate designs and minimizes errors, making counted thread work more enjoyable.
Finding & Utilizing Printable PDFs
Printable embroidery stitch guides (PDFs) are readily available online, both free and for purchase, offering a convenient way to learn and reference techniques.
Where to Find Free Printable Embroidery Stitch Guides
Numerous online platforms generously offer free printable embroidery stitch guides in PDF format. Websites dedicated to crafting, like DMC’s official site and various embroidery blogs, frequently provide downloadable resources. A simple web search using keywords such as “free embroidery stitch PDF” or “embroidery stitch diagrams” will yield a wealth of options.
Pinterest is also a fantastic visual discovery engine, often linking to free PDF guides hosted on blogs or personal websites. YouTube tutorials sometimes include downloadable stitch guides as companion materials. Remember to always check the source’s credibility and ensure the PDF is safe to download before opening it. Many crafting communities and online forums also share free resources amongst their members, creating a collaborative learning environment.
Paid vs. Free PDF Resources
Free printable embroidery stitch guides are excellent for beginners, offering a broad overview of basic techniques. However, paid PDF resources often provide greater depth and detail. These typically include more comprehensive stitch libraries, advanced techniques like Bargello or Needlepoint, and professionally designed diagrams.
Paid guides frequently feature detailed instructions, troubleshooting tips, and even complete project patterns. They may also offer higher resolution images for clearer viewing and printing. While free resources are fantastic for initial exploration, investing in paid PDFs can accelerate skill development and unlock more complex embroidery possibilities. Consider your learning style and project goals when deciding which option best suits your needs – both have significant value.
Understanding PDF Stitch Diagrams
Printable embroidery stitch diagrams within PDFs utilize visual cues to demonstrate technique. Lines represent the thread path, numbers indicate stitch order, and arrows show needle direction. Pay close attention to the starting and ending points of each stitch, as well as the fabric grain.
Color-coding often distinguishes different thread strands or stitch variations. Understanding these symbols is crucial for accurate replication. Many PDFs include multiple views – a finished example, a step-by-step illustration, and a close-up of the stitch formation. Practice interpreting these diagrams before starting your project; it will significantly improve your embroidery results and confidence.
Customizing Printable Stitch Guides
Printable embroidery stitch PDFs, while helpful, aren’t always a perfect fit. You can customize them! Annotate diagrams directly on the PDF using editing software to add personal notes about thread colors, fabric choices, or stitch modifications. Print multiple copies – one for reference and one to mark up as you learn.
Consider creating your own stitch samplers based on the guides, experimenting with different thread weights and fabric types. Tailor the guides to your specific project needs, focusing on the stitches most relevant to your design. This personalized approach enhances learning and fosters creativity, making the PDF truly your own.
Essential Tools & Materials (Referenced in PDFs)
PDF guides detail necessary supplies: embroidery floss, needles, and fabrics. Understanding these materials – their types and uses – is crucial for successful stitch execution.
Embroidery Floss Types
Printable embroidery stitch PDFs frequently reference various floss types, as material choice significantly impacts the final look. Embroidery floss typically comes in six-strand divisible cotton, allowing for varied thickness based on strand count. DMC is a widely recognized brand, offering a vast color palette. Pearl cotton, a twisted, non-divisible strand, provides a lustrous finish, ideal for outlining or delicate details.
Silk floss offers a luxurious sheen and drape, often used for heirloom projects. Metallic floss adds sparkle but can be trickier to work with, requiring gentle handling. Wool floss provides texture and warmth, suitable for rustic designs. PDF guides often specify the recommended floss type for each stitch, considering the fabric and desired effect. Understanding these differences empowers you to achieve professional-looking results and interpret PDF instructions effectively.
Embroidery Needles
Printable embroidery stitch PDFs often highlight the importance of selecting the correct needle. Embroidery needles, unlike standard sewing needles, have a larger eye to accommodate thicker embroidery floss. Crewel needles are versatile, suitable for most surface embroidery techniques detailed in PDF guides. They feature a sharp point for easy fabric penetration.
Tapestry needles lack a point and have a blunt tip, ideal for counted thread work, preventing fabric snagging. Chenille needles possess a long eye, facilitating easier threading of multiple floss strands or metallic threads. PDF diagrams frequently illustrate needle insertion points for each stitch. Needle size corresponds to fabric weight and floss thickness; PDFs may suggest appropriate sizes. Choosing the right needle ensures smooth stitching and prevents frustration, enhancing your embroidery experience.
Fabric Choices for Embroidery
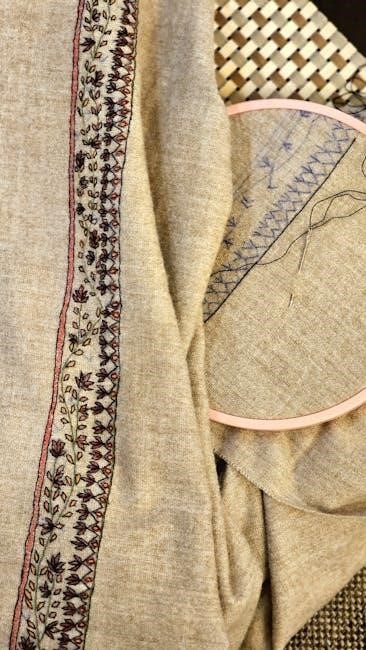
Printable embroidery stitch PDFs frequently emphasize selecting the appropriate fabric. Linen is a classic choice, offering a beautiful texture and even weave, ideal for detailed stitches shown in PDF guides. Cotton, particularly muslin or quilting cotton, is affordable and beginner-friendly, well-suited for practicing stitches from PDF resources.
For finer work, silk or rayon provide a luxurious sheen. The fabric’s weave impacts stitch definition; even weaves are best for counted thread embroidery. PDF diagrams often indicate suitable fabric types for specific stitches. Consider fabric weight – lighter fabrics are easier to stitch through, while heavier fabrics offer more stability. Stabilizers, discussed in some PDFs, can support delicate fabrics. Choosing the right fabric enhances the final embroidered piece.
Troubleshooting Common Embroidery Issues (Often Addressed in PDFs)
Printable embroidery stitch PDFs often include solutions for puckering and tension problems, helping you achieve flawless results and a professional finish.
Dealing with Fabric Puckering
Fabric puckering is a common frustration for embroiderers, but printable stitch guides (PDFs) frequently dedicate sections to resolving this issue. The primary cause is uneven tension – either too tight or too loose – while stitching. PDFs often illustrate how to maintain consistent thread pull.
Another culprit is the fabric itself; lighter-weight fabrics are more prone to puckering. Stabilizers, discussed in many PDF resources, are crucial! They provide support to the fabric during stitching, preventing distortion.
PDFs will detail different stabilizer types – tear-away, wash-away, and cut-away – and when to use each. Proper hooping is also vital; ensure the fabric is taut but not stretched. Finally, adjusting stitch density, as explained in some guides, can alleviate puckering, especially with denser stitch patterns.
Maintaining Consistent Tension
Consistent tension is paramount for beautiful embroidery, and printable stitch guides (PDFs) consistently emphasize its importance. Uneven tension leads to loose, looping stitches or, conversely, puckered fabric. PDFs often include diagrams illustrating the correct thread path and how to hold the floss.
Many guides detail the “rule of thumb” – the floss should glide smoothly through your fingers without significant resistance. Practice is key! PDFs may suggest practicing stitches on scrap fabric to develop a feel for proper tension.
Furthermore, they often address tension adjustments based on floss type; thicker floss requires slightly looser tension. Understanding your needle size relative to the fabric and floss is also covered, ensuring a balanced pull. Consistent tension results in neat, professional-looking embroidery.